Picture this: You’re in the middle of a crucial task on your PC when suddenly, the unthinkable happens – a blue screen, a strange noise, or maybe your computer just won’t boot. While our first instinct might be to panic or call the nearest technician, with the right know-how, many common issues can be fixed by ourselves.
Enter the world of DIY computer repair, a realm teeming with solutions to common tech predicaments. Dive into this guide to arm yourself with the knowledge and confidence to tackle most problems head-on.
Essential Tools and Equipment
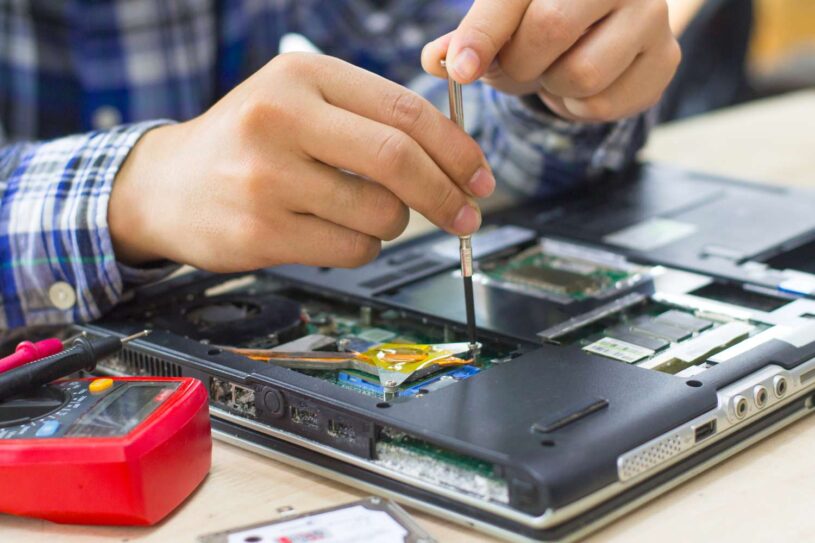
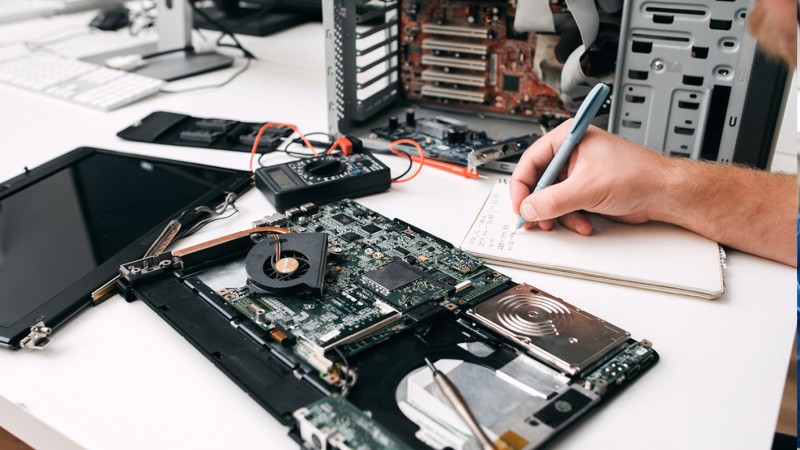
From a screwdriver to anti-static wristbands, certain tools are pivotal in DIY computer maintenance. A good quality toolkit usually contains varying sizes of Phillips and flat-head screwdrivers, tweezers, and thermal paste.
Static electricity can harm delicate computer components, so an anti-static wristband is essential to prevent any inadvertent discharge while working.
Storage containers or magnetic trays are invaluable for keeping tiny screws and parts organized. Labeling these can save you from a headache when reassembling your device. Also, consider having a can of compressed air on hand.
This simple tool can efficiently clear away dust and debris from various components, enhancing performance and longevity. In case this sounds impossible for some reason and you want the pros to do it for you, Computer Repair Raleigh NC is the one to call.
Preparing Your Workspace

Begin by locating a spacious and well-lit area for your DIY repairs. A large table with a non-static mat should be ideal. Ensure that this spot is free from any potential disturbances or hazards, including pets and liquids. A clean, organized space not only aids efficiency but also prevents potential damage.
Keeping the original manuals and documentation of your computer nearby can be incredibly beneficial. These guides often contain diagrams, troubleshooting steps, and specifications that can guide you through the repair process. If you’ve misplaced them, most can be found online with a simple search using your computer’s model number.
Lastly, keep your phone or a camera at the ready. Taking pictures of your computer’s internal setup before disassembling can prove invaluable when piecing everything back together. This step is especially helpful for first-time tinkerers, offering a visual guide and reassurance throughout the process.
Common Computer Hardware Issues
Many hardware issues arise from overheating due to accumulated dust or component malfunction. Regularly cleaning your device, especially the fans and heat sinks, can mitigate these problems. Should you notice any bulging or leaking capacitors on your motherboard, that’s a red flag; these will likely need replacement.
Hard drives, with their moving parts, can often be the culprits behind system failures. Any clicking or grinding noises are clear indicators of a failing hard drive. To address this, consider switching to a solid-state drive (SSD), which is more resilient due to its lack of moving parts.
RAM, or Random Access Memory, can also be problematic. Faulty RAM can cause your system to freeze or display the dreaded blue screen of death. Running a memory test can help pinpoint issues with your RAM. If detected early, simply replacing the faulty RAM stick can prevent more significant problems.
In the realm of computer troubleshooting, being aware of indicators that your computer is unrepairable can be a valuable skill for tech-savvy users, aligning with the insights shared in the related article about DIY computer repair.
Troubleshooting Software Problems

Corrupt files or problematic applications can lead to software glitches. Starting your computer in safe mode allows it to run with a minimal set of drivers, making it easier to identify the issue. Once in safe mode, look for any recent changes or installations that might be causing problems and address them.
System Restore is another invaluable tool. By returning your computer to a previous state, often before the issue began, you can rectify many software-based problems. However, use this option with caution, as it might undo recent important updates or installations.
Software conflicts can also be a menace. Regularly updating your drivers ensures compatibility and optimal performance. Yet, if you suspect a recent driver update is causing issues, rolling back to a previous version can be a solution.
Preventative Maintenance Tips
Regular cleaning is crucial. Dust accumulation can cause components to overheat, leading to potential damage. Using compressed air to clear dust from fans, keyboards, and other parts every few months is a wise practice.
Defragmenting your hard drive consolidates fragmented files, boosting performance. This is particularly essential for HDDs. However, note that SSDs don’t require defragmentation, and running such tools can actually decrease their lifespan.
Update regularly. Keeping your operating system and software updated ensures optimal performance, patching any vulnerabilities or bugs. By setting your system to auto-update, you ensure it’s always running the latest, most secure versions.
In your journey to becoming tech-savvy, mastering computer repair techniques through a structured six-step process is an essential foundation, complementing the hands-on tips provided in the DIY computer repair handbook.
Data Backup and Recovery Strategies

Backing up data is a non-negotiable task. Using external hard drives or cloud services ensures that even if your computer crashes, your data remains safe. Make it a habit to back up at regular intervals, be it daily, weekly, or monthly.
Should you accidentally delete vital data, recovery software can be a lifesaver. Numerous reliable programs are available, designed to retrieve accidentally deleted files. However, the sooner you act after deletion, the higher the chances of successful recovery.
Another strategy is to create a system image. This is a snapshot of your computer’s current state, including settings, applications, and data. Should anything go awry, you can restore your computer to this specific point, ensuring a swift return to normalcy.
Upgrading Your Computer Components
Enhancing your computer’s RAM can drastically improve performance, especially for tasks like gaming or video editing. When opting for an upgrade, ensure the new RAM is compatible with your motherboard and existing components.
An SSD offers rapid boot times and speedy data access. If your computer still uses an HDD, consider this upgrade for a noticeable boost in performance. Just ensure you transfer your operating system and essential files to the SSD for maximum benefits.
Graphics cards are crucial for those who game or handle graphics-intensive tasks. Upgrading to a newer model can deliver a significant performance boost. However, always check for compatibility, power requirements, and if your system has adequate cooling to handle the new card.
Final Words

Embarking on the DIY repair journey is both empowering and cost-effective. With the right tools, knowledge, and a dash of patience, many computer woes can be resolved from the comfort of your home.
This guide offers a foundation, but remember, the tech world is ever-evolving. Continuous learning, coupled with a passion for technology, will ensure you remain at the forefront of DIY computer maintenance and repair.
